Macro shots that pop

Action sports videographer Aurelie Gonin and food photographer Donna Crous on shooting perfect macro shots and capturing more than the eye can see
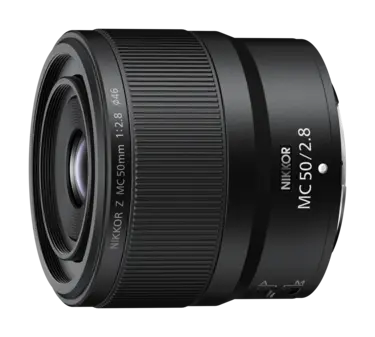
When you look through a macro lens, you see more detail. A true macro lens like the NIKKOR Z MC 50mm f/2.8 has a magnification ratio of 1:1 (life-size). You can shoot images of small subjects — with every detail perfectly and sharply reproduced.
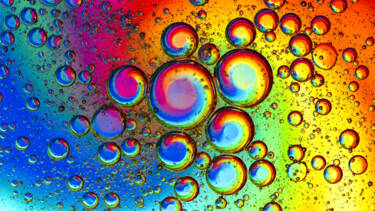
Aurelie says that a macro lens lets you show what you cannot see with your eyes. You might wonder what you’re looking at, but then you realise you’re getting the chance to create something epic.
If you’ve ever tried to capture extreme close-ups with smartphone or a simple point-and-shoot camera or with a non-macro lens, you will have noticed that the focus becomes blurry the closer you get to your subject. You might even have had to step back further than you’d like before you can take a sharp shot. A lens like the NIKKOR Z MC 50mm f/2.8 doesn’t have that problem because it’s optimised for macro shooting. In fact, with this lens you can achieve sharp focus even when the front of the lens is just 5.6 cm away from your subject!
Detail and texture: show what your eyes can’t see
Detail and texture are very important in food photography — and with a macro lens like the NIKKOR Z MC 50mm f/2.8, you can capture the unseen beauty that so fascinated Aurelie in Tenerife.
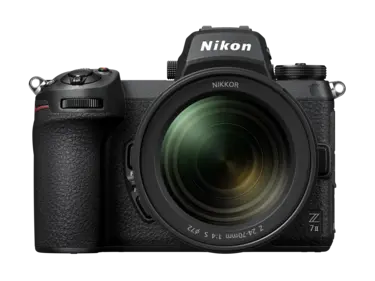
You can use the NIKKOR Z MC 50mm f/2.8 on any Nikon Z camera, whether it’s a full-frame camera such as the Nikon Z 5, Nikon Z 6II and Nikon Z 7II, or a DX-format camera like the Z 50.
When used on a full-frame Z series camera, you can use the lens as a ‘normal’ 50mm lens and snap great landscape shots, street scenes, and portraits — or you can shoot stunning macro shots. It’s the same with a DX Z series camera: you can use the lens as a ‘regular’ lens or as a macro lens. As you focus and the lens barrel extends, markings on the barrel make it easy to see when you’re shooting at a ‘true macro’ 1:1 (life-size) magnification ratio.
If you shoot with the NIKKOR Z MC 50mm f/2.8 on a Z series DX mirrorless camera, your images will have what’s known as a ‘DX crop’. This means that you’ll get shots that look like they’ve been shot with a longer focal length. In the case of the NIKKOR Z MC 50mm f/2.8, you get a 75mm crop, great for head-and-shoulder portraits or tighter crops of small subjects when shooting macro.
The other great thing about the NIKKOR Z MC 50mm f/2.8 is that it’s small and lightweight: you can easily keep it on your camera as you wander around. You can even capture great close-ups without using a tripod if you’re shooting with one of the Nikon Z cameras with in-camera Vibration Reduction image stabilisation such as Nikon Z 5, Nikon Z 6, Nikon Z 6II or Nikon Z 7II.
Dive into macro
Donna and Aurelie cover the basics
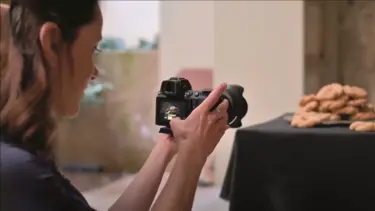
Find the best light for close ups
Eager to try your hand at creating richly detailed, tack-sharp food shots like the ones Donna creates in our video? It’s all about understanding your light sources.
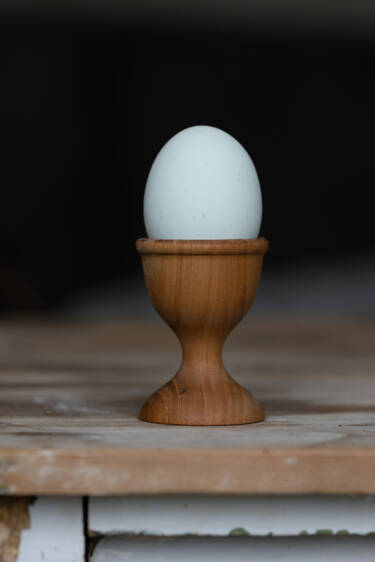
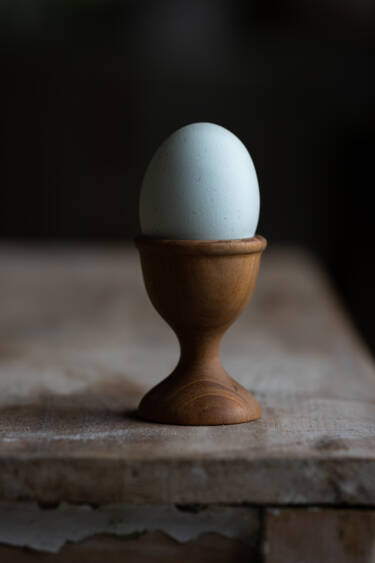
Where the light comes from is key. Donna and Aurelie call this ‘directional light’. This means light coming from one direction, which creates a highlight on one part of your subject and grades into nice shadows on the other side. Donna and Aurelie use an egg to show how light from the side or on top of your subject creates a shadow that grounds what you’re shooting in its environment — so you won’t end up with a shot that looks fake.
Both Donna and Aurelie agree that the type of shadow that the light casts is important. Donna says that a soft shadow is the best for creating a striking image — and for a soft shadow you want soft light.
Texture and dimension are also important in food photography. Try your subject from different angles and you’ll see how the light changes its appearance. Front lighting creates a flat, two-dimensional shot. Side lighting makes the dimensions and textures really pop.
For videography, Aurelie also likes backlighting, which she says is great for highlights and shadows. Donna loves backlighting too, for certain types of food subjects — or to show the depth and transparency in a glass of champagne.
The lighting you end up using will depend on what you want to achieve. What’s important is to experiment and find your perfect light before setting up your shot.
Try the egg test
Wondering where best to try out your new lens? Want to see how lighting will affect your subject? Donna has a simple test.
Move an egg around your house or your shooting area. Take pictures of it with light coming from the front and the side, and with backlighting. You’ll soon see how different light sources make the egg look different each time.
As Donna says, your family might think you are crazy, but it’s a great way to discover how the light impacts your subject.
Artful macro photography — compose like a pro!
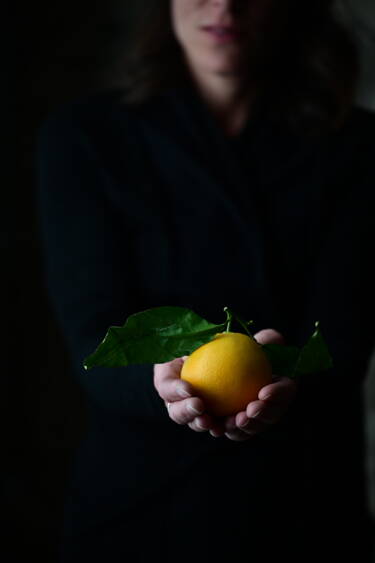
The colours in macro photography can be incredibly captivating, and playing with arranging some fruit on an eye-catching backdrop is a simple yet effective way to hone your compositional skills.
Check out our video for Donna’s tips on composing with colour and negative space. Negative space simply means that you’re giving your subject room to breathe by allowing some space between the elements in your composition.
You’ll see Donna laying out a beautiful arrangement of citrus fruits on some local tiles she’s found. The complementary colours of the fruits and the tiles really make the image come alive. “Try positioning the fruit in a semicircle,” Donna says, so there’s still a bit of negative space through which the eye can travel. It’s that movement of the eye that helps draw you into a still-life food image.

Filming a still subject: different angles tell a story
Of course, you don’t just have to shoot stills. In our video, Aurelie shows us how you can film from different angles to tell a story, and that you can create movement even when filming a still subject such as food.
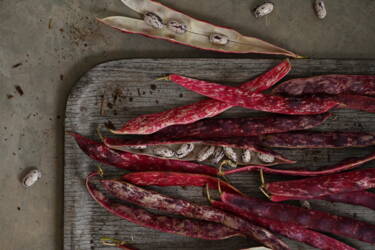
Check out the segment in which Aurelie films a platter of ‘lingua de fusco’ (tongue of fire) beans — they’re these amazing red-and-white pods.
In order to shift focus from the first to last bean, Aurelie shifts her plane of focus simply by turning the focus ring on the lens. You can also do this using the touchscreen on your Nikon Z camera, changing your focus point by touching the overlaid squares that show you all the different focus areas.
Sharp shooting 101: find your plane of focus
The NIKKOR Z MC 50mm f/2.8 will help you achieve super-sharp macro shots bursting with detail. Finding and keeping that razor-sharp look can be a little bit of a challenge — especially if you’re stepping up from a smartphone, which does everything for you! Don’t worry, though. Follow these simple rules and you’ll be shooting sharp in no time.
You get sharp focus by focusing on your subject and pressing the shutter-release —right? That’s true. But in the macro world, even a tiny shift in the position of your camera can alter the point of focus so much that you lose the details you thought you’d captured. Perhaps you focused precisely on the eyes of a bug, only to press the shutter and find that you ended up taking an extremely sharp image of its back leg…
This is because of something called the ‘plane of focus’. The plane of focus is a two-dimensional plane in which everything is in perfect, sharp focus. It’s easiest to imagine as a pane of glass that’s positioned in front of the camera. Your point of sharp focus sits on that glass.
Anything in front of that plane, or behind it, is out of focus. The further away from the plane it gets, the more out of focus it becomes.
Sharp shooting 101: get into depth of field
There’s an area around the plane of focus, both in front of it and behind, in which subjects are still in pretty sharp focus. The distance between the nearest object that’s in focus — and the furthest object still in focus — is called ‘depth of field’.
It’s the depth of field you want to use to keep your tiny subjects or close-up details nice and sharp. If you’re new to macro, a great way to do this is by making sure you have the biggest possible depth of field. In other words: that the distance between the nearest in-focus object and the furthest in-focus object is as big as possible.
Now, when you’re getting close with a macro lens, depth of field is never going to be huge. It’s always what is called ‘shallow’ or ‘thin’. You only have millimetres to play with. But when you’re shooting a ladybug or a piece of fruit and want to keep its head or those minute details in focus, an extra millimetre or two can make all the difference!
To increase depth of field, increase the f/number. The NIKKOR Z MC 50mm f/2.8 has a max aperture of f/2.8, which is great for achieving beautiful background blur (bokeh) when shooting non-macro. For macro shots, though, you’ll probably want to use a larger f/number.
The f/number lets you know what aperture you are using: the smaller the number, the bigger the aperture. By increasing the f/number you make a smaller aperture for light to get through the lens, which increases depth of field.
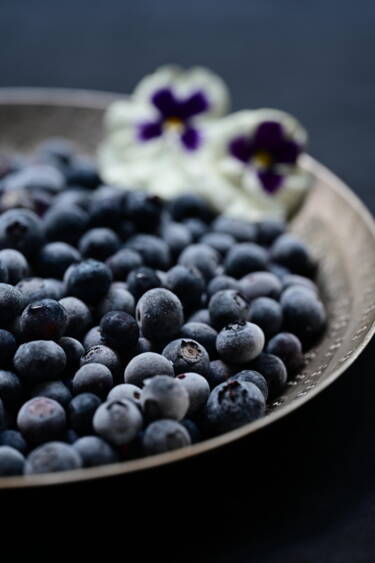
Shooting video? Take advantage of your plane of focus
When in the studio in Tenerife, Aurelie shoots a video clip of the frozen blueberries: to do this, she moves an extremely slim area of focus over the berries — creating a real ‘wow’ effect. This slender plane of focus is achieved by moving the lens very close to the subject. Everything outside this razor-sharp plane of focus is beautifully blurred.
If you watch the video, you’ll see Aurelie doing this with the NIKKOR Z MC 105mm f/2.8 VR S lens, and she’s using the maximum aperture of f/2.8. You can achieve a very similar effect with the NIKKOR Z MC 50mm f/2.8.

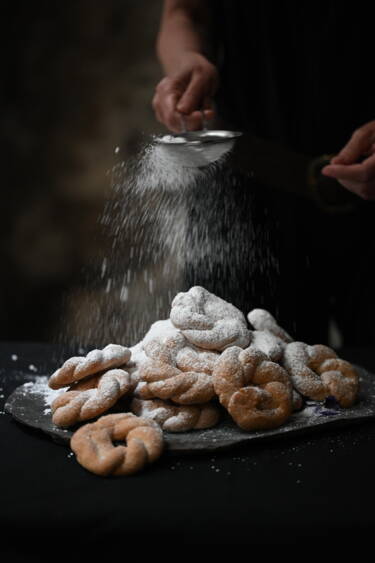
Bringing motion to stills: move fast, go slow!
Fancy trying to get the perfect shot of icing sugar being sprinkled over biscuits?
In our Tenerife shoot, you can see Donna bringing motion to her food photography when she sprinkles icing sugar onto biscuits. Using her Nikon Z camera’s interval timer, she’s able to time a series of still shots. The camera will continue to take as many shots as Donna has programmed, which allows her time to get her own hands into the shot — adding a beautiful sense of movement.
Aurelie also enjoyed filming the sprinkling of the sugar onto the biscuits. She shoots the same scene at normal speed and in slow motion because she says it’s great to have some natural movement in her video, too. Using the Movie Shooting menu, she selects a frame rate of 120 fps to get 4x slow motion — allowing her to show every hidden detail in the movement as the icing sugar falls.
Don’t use Auto White Balance when filming
If you shift your position around a subject while filming — as Aurelie does when she films the biscuits in slow motion — you’ll see that the colours change because the light changes. This happens when your camera is set to AWB (Auto White Balance). This setting automatically adjusts white balance (which balances colours in your image). When you move around the image, that balance is changed because the automatic setting wants to rebalance colours according to the different kinds of light.
When you want to film a static subject from different angles, changing colours is probably not the look you’re trying to achieve! To avoid this, all you need to do is set the white balance to any setting other than Auto. Then the camera will consistently apply the same balance from every angle, and the colour of your subject will look the same in each shot.
Explore more
Reimagine all possibilites
